Bush AC 31 On Arrival
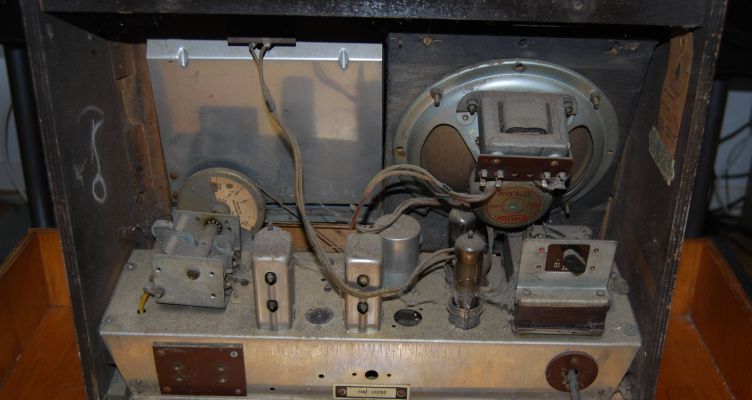
Some early images of a Bush AC31 that I picked up and had to totally refurbish the case.
Pictures
I've put relevant pictures in a gallery at the end of the article.
On Arrival
When I opened the very badly packed box I was pleased (hmm) to find one of the control knobs was now a 3d jigsaw. It was reassembled and looks ok from a distance, but I'm a bit annoyed!
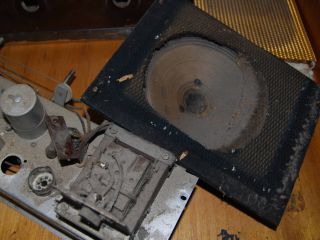
It looks like this machine has been in wood working shop due to the amount of sawdust covering everything, including inside the speaker.
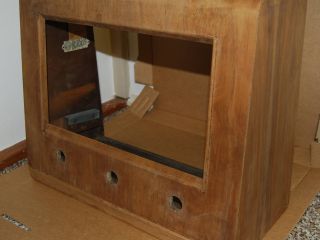
The case itself was very rough, coffee cup stains, scrapes, paint drips, etc. Well beyond patching up.
First Steps
This arrived a few months ago (it's now October) and on a very warm day. So I took advantage of the weather to work outside and completely strip the case. The simplest way was to use a chisel to scrape the original finish off and take the case down to the bare wood.
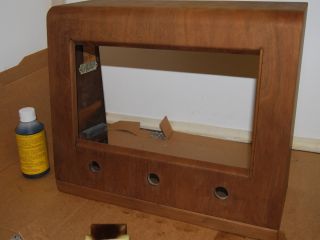
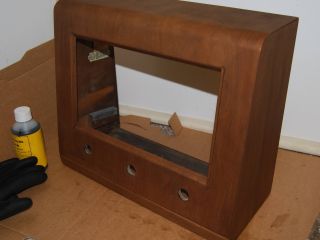
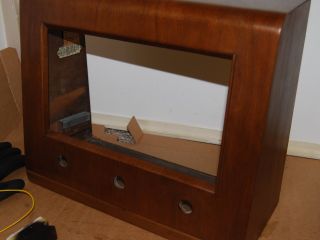
The pictures show the case after scraping and sanding, then the addition of a couple of coats of Medium Oak water based stain, followed by three coats of beeswax. A waterslide transfer of the Bush logo (via Vintage Radio forum) applied really helped the look. The transfer is a little darker than the stain, but I think it looks better than not having it. It was applied after the staining, but before the beeswax polish.
The speaker grill was treated to a good scrub in soapy water and then the dents gently pushed out. It looks quite good now.
Luckily it was easy to take the paint drips off the tuning dial and there was no damage at all to the internal printing.
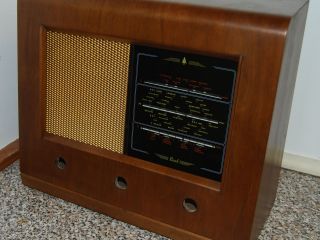
The last picture shows the case with the reassembled speaker grill and tuning dial.
Knob Cleanup
The bakelite control knows were scrubbed and then treated with "Paste Polish No. 5" and beeswax which brought back the shine.
I like to emphasise the embedded text on the knobs using a white chalk type marker. I may write this up some other time.
Electronic Restoration
At the time of writing the chassis has been stripped down and cleaned. Faulty components have been replaced and we'll be ready to test it shortly.
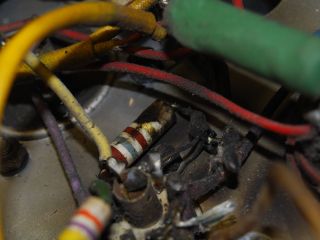
I couldn't resist adding a picture below of some major heat damage to the audio output valve's cathode biasing resistor.
