IF Transformer Slug Issues
I'd screwed a slug on an IF transformer too far into the body and now it was just turning. Here's how I got it back out.
Frustration!
When tuning an IF transformer one of the slugs was screwed too far in and I couldn't get it to re-engage any threads to screw it back out.
This transformer has two slugs in it, so I wondered if I could remove the other one and slide the problem one out.
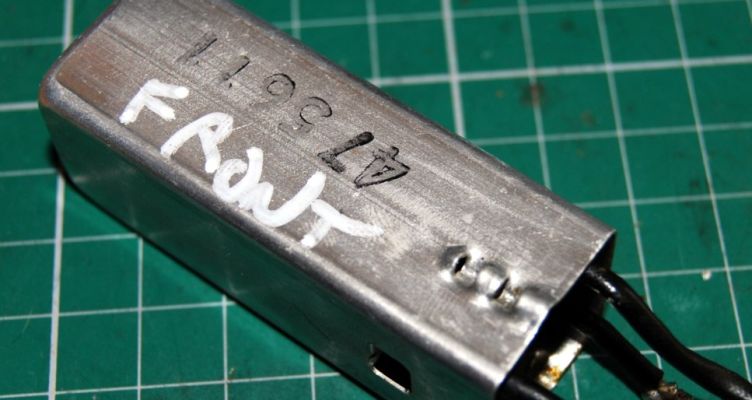
First things first; after marking one side of the case so that I could put it back the same way, the transformer was desoldered and unscrewed from the chassis. A mark was then made on the bottom of the assembly that marked how it orientated to the can.
I've been finding a liquid chalk (white) marker really useful for this sort of thing. It wipes off really easily.

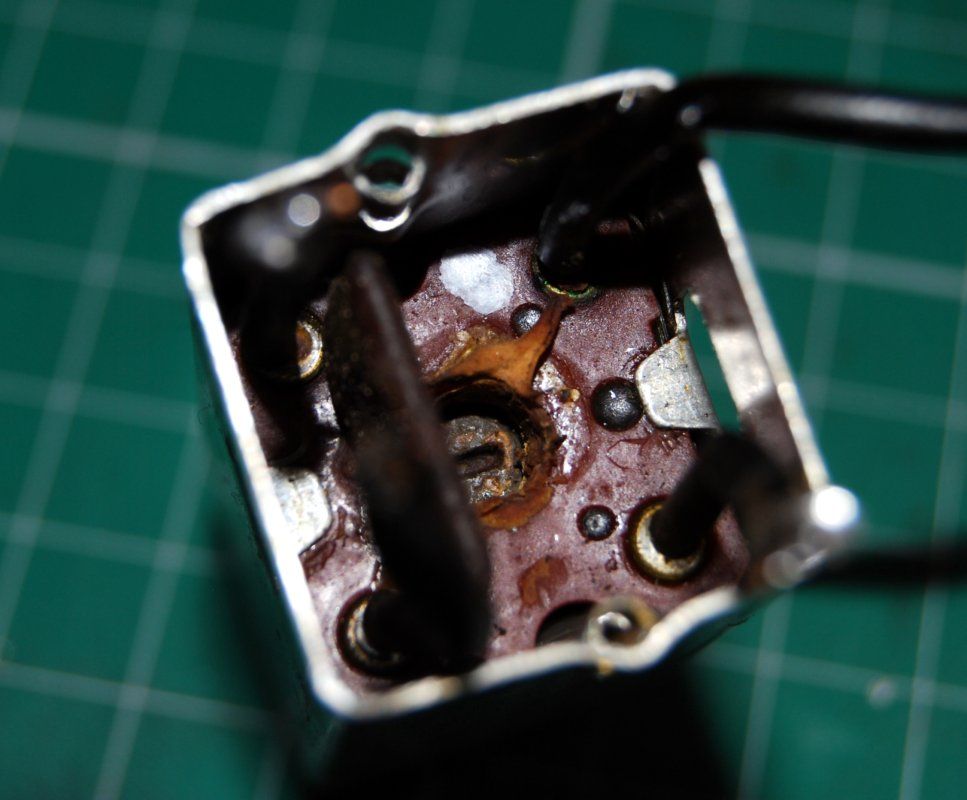
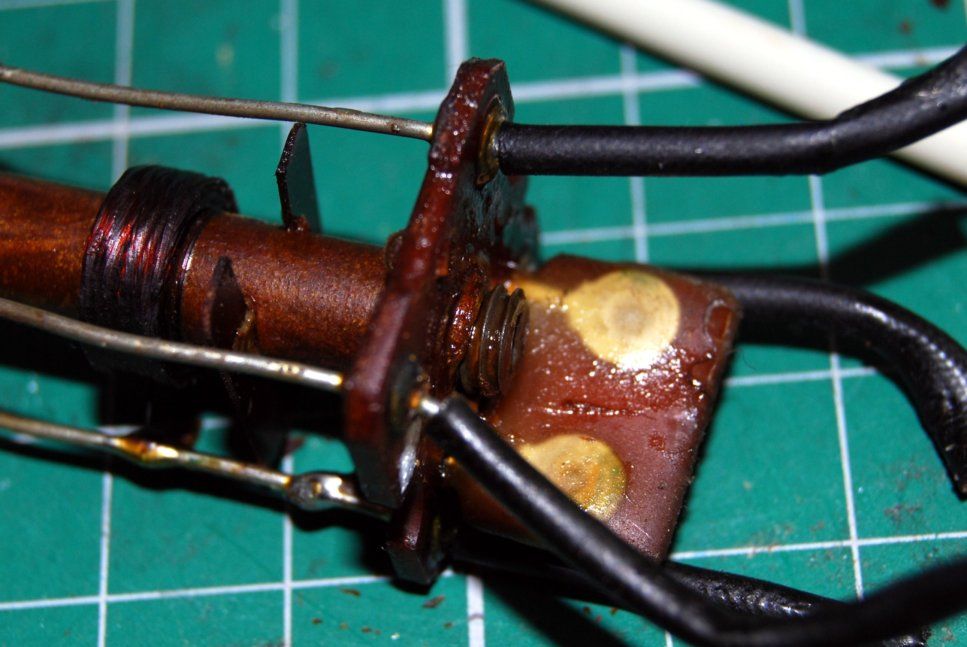
As you can see in the above picture, the bottom slug has a good dollop of wax holding it in place. There are many opinions on how to soften this wax, but I find the KONTAKT 40 contact cleaner works really well. A few drops were sprayed into the core and the slug gently turned back and forth until it easily screwed out.
This cleaner is also really good at removing sprayed capacitor juice from components. Unfortunately it's also perfect for removing the printing off the side of valves!

Gentle Persuasion
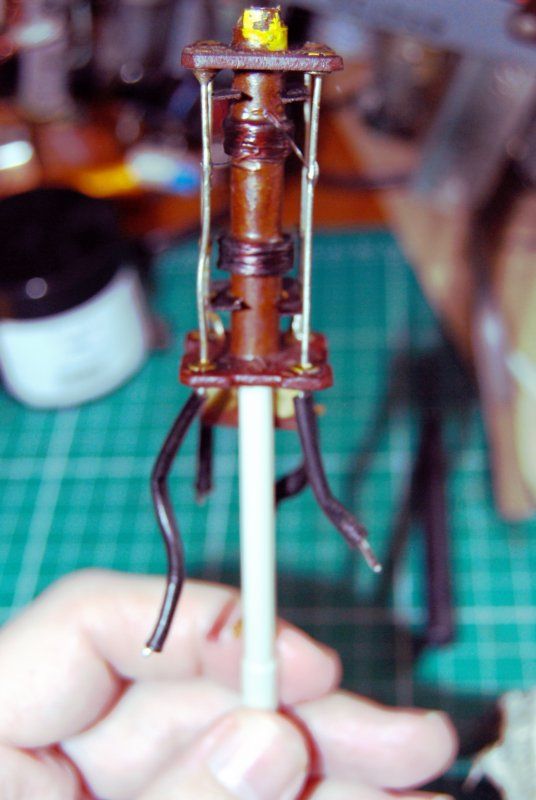
A tuning tool with a circular end (like a straw's) was used to gently try and push the top slug down, but it stopped on the threads (I imagine) of the bottom slug.
I then reversed the transformer and gently pushed the slug towards the top of the assembly while using another trimmer to re-engage the slug in it's thread. This allowed me to continue until it had moved the slug to the top of the core.

This worked perfectly and the bottom slug was replaced and the can reassembled.
I'm fairly certain if I need to do this again I can do so without having to remove the transformer can from the chassis.

